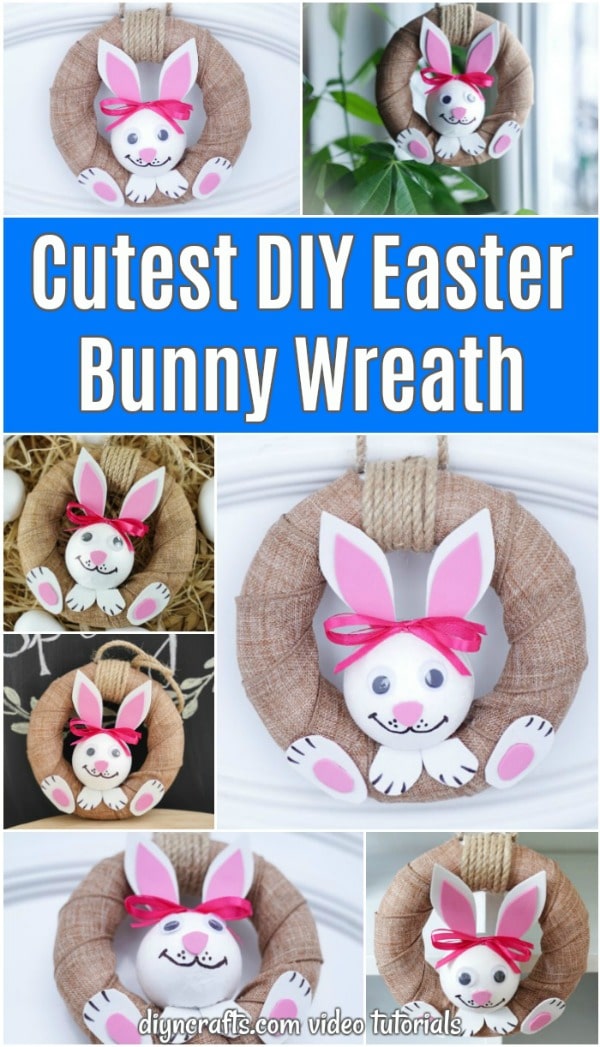
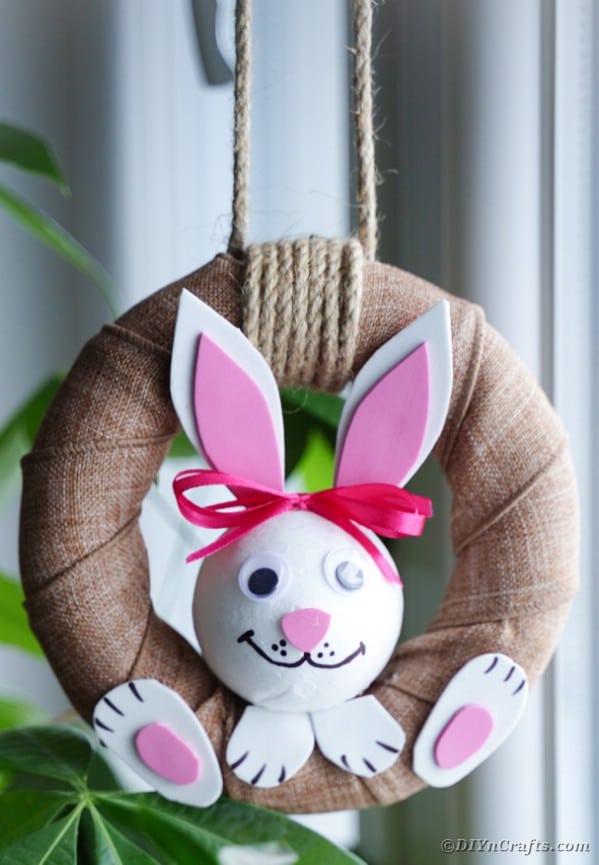
Adorable Easter Bunny Wreath With Video Tutorial
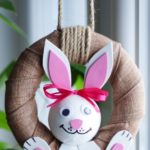
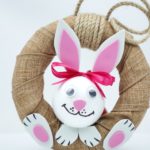

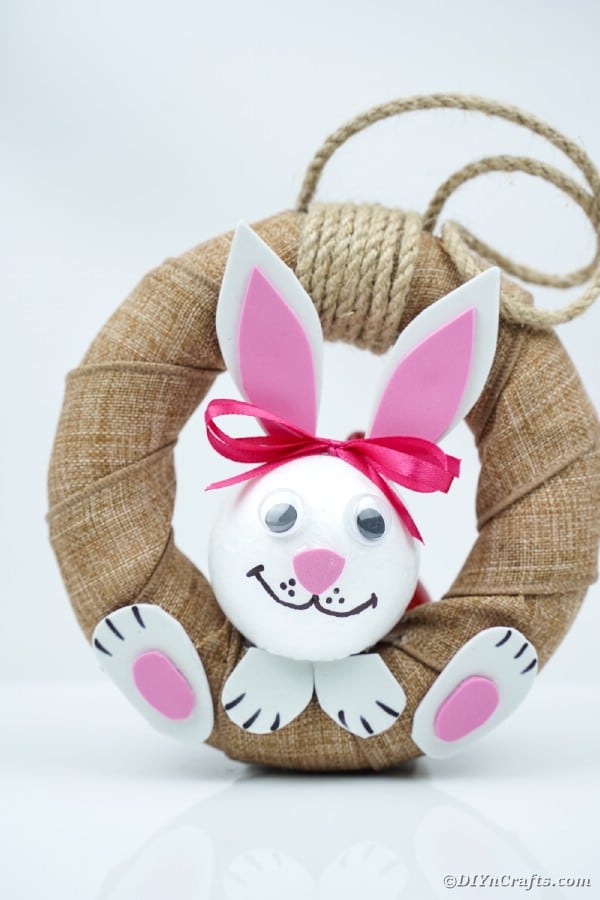
I love switching out my door wreaths for seasons and holidays. This Easter bunny wreath is absolutely precious and super easy to brand. Not just is it Easter themed, simply it appeals to my love of all things rustic. The added burlap wrap gives it a farmhouse appeal that is popular right now, only likewise a personal favorite. Catch your crafting supplies and make this great wreath to add to your decor.
Easter Bunny Wreath
Any craft that is simple but still turns out adorable is going to be a striking for me. I especially similar ones that are pretty, merely easy enough for me to make with the kids. This one is definitely all of the above. Y'all only demand a few supplies, and since it is supposed to exist rustic and beautiful, there is no perfect template required. You can easily make this your ain with a few changes.

I am also actually in honey with the idea of adding this cute pastel rainbow rag wreath or this bunny-shaped Easter wreath to my decor. Both are so pretty and fit well with this more than rustic style. Of course, in that location are tons more ideas on this list of creative Easter wreaths. Then many places to get inspiration.
What is the Best Wreath Form to Use?
For this, I chose a styrofoam wreath class. I establish them at my local Dollar Tree for only $1 each, and then keep them on manus all the time. If you prefer, you tin utilize wire or rustic twig wreath for this, but you will want to add more material to fill in the gaps. I do, yet, really like the thought of using a rustic twig wreath and skip the burlap. Use whatever you adopt, and have fun with making this bunny into a fun wreath for Easter.
I love making wreaths that are cheap. In fact, I made this adorable DIY Easter wreath from sticky notes a few years ago which is nevertheless ane of my favorites. You can truly go creative and use nigh anything to decorate with, and that proves it!
Tin I Wrap This with Cloth Instead?
If you lot accept some pretty springtime pattern or solid pastel-colored textile on hand, feel free to use it instead of the burlap ribbon. In fact, you could also utilize any other colour ribbon y'all wanted. Burlap adds to the rustic experience of the wreath, only it isn't necessary for making this cute.
I love the thought of using some patterned Easter egg fabric, or a overnice pink or purple ribbon instead of the burlap. Either option would look especially nice with the rustic rope or jute you wrap around the height to hang the wreath. You lot could fifty-fifty make them in a few different colors to go on every door of your business firm. Go creative with them, and add embellishments similar tiny eggs, niggling birds, ladybugs, and flowers around the wreath. At that place are only no limits to how you tin can personalize this wreath.
If you want another simple and rustic idea, check out this beautiful floral wreath. So simple but truly gorgeous. For those who want a lilliputian more pop of color, you can use this printable template to make a paper bloom wreath or this other folded newspaper wreath. Then many great ideas that actually fit into Easter decor.
Supplies Needed
- Wreath form
- Styrofoam brawl
- Burlap ribbon
- Rustic rope
- White craft paper
- Pinkish craft paper
- Googly optics
- Pinkish satin ribbon
- Blackness mark
- Craft gum
- Scissors

How to Brand a Rustic Easter Bunny Wreath
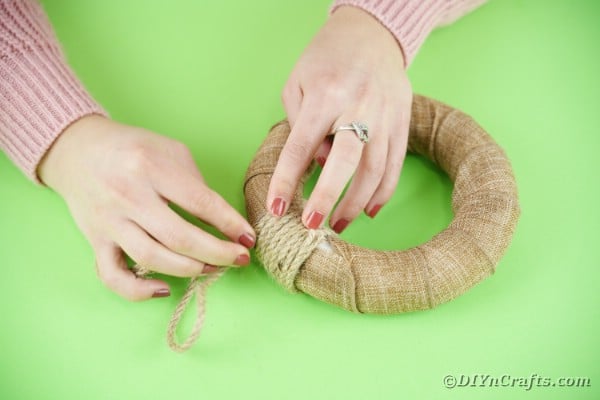
Outset by wrapping your foam wreath with burlap ribbon starting past gluing i end in place, then wrapping and gluing as you move effectually the wreath.
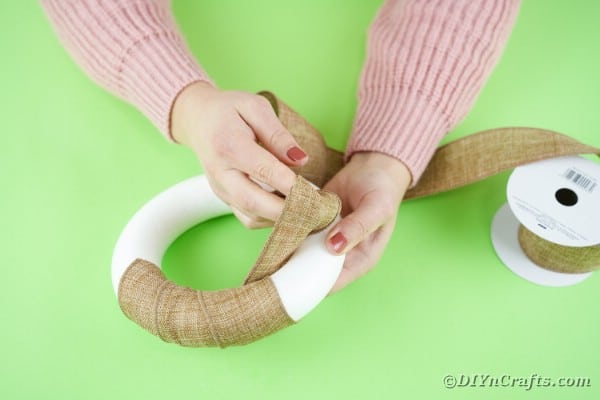
Continue the ribbon loosely overlapping only roofing all of the white foam.
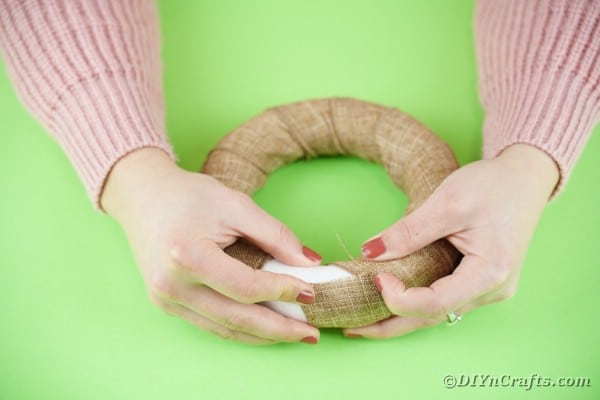
Once the burlap ribbon is in place, you will utilise the rustic rope to wrap around where the burlap is glued in place. Wrap 5-6 times and glue in place with a loop tied or glued at the top for hanging.
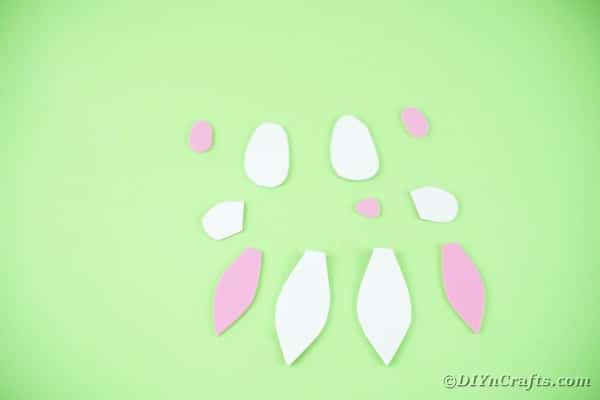
At present, you will cut out of the white and pink paper, ii white ears, two slightly smaller pink ears, ane pinkish circumvolve nose, 2 white acme feet, 2 larger white bottom feet, and ii small pink circles to go on the white feet.
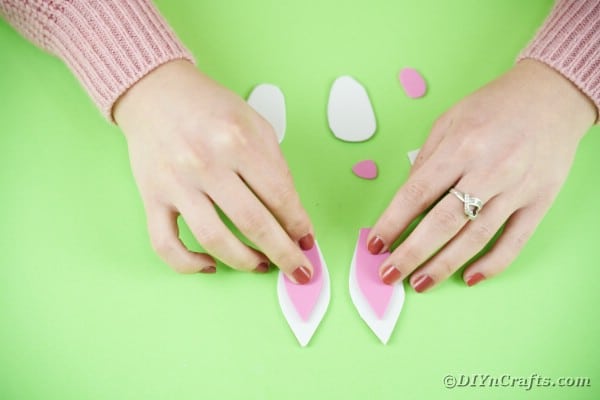
Assemble the ears and feet with pinkish pieces glued onto white as needed.
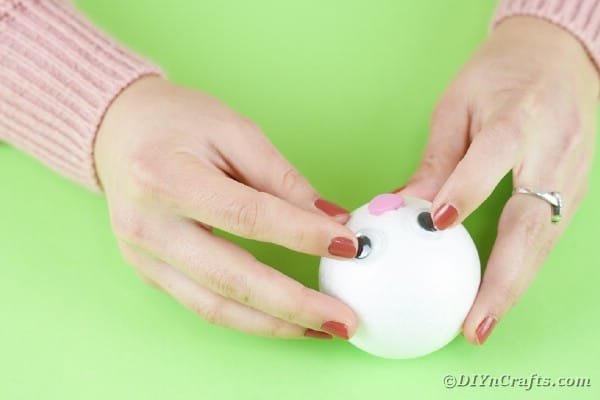
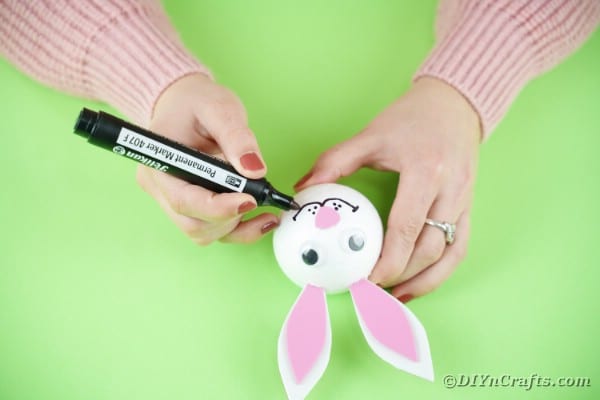
Now, you will add together the googly eyes and olfactory organ to the styrofoam ball.
Glue the ears in identify on the styrofoam ball.

Draw on the smile and whiskers with a black marker.
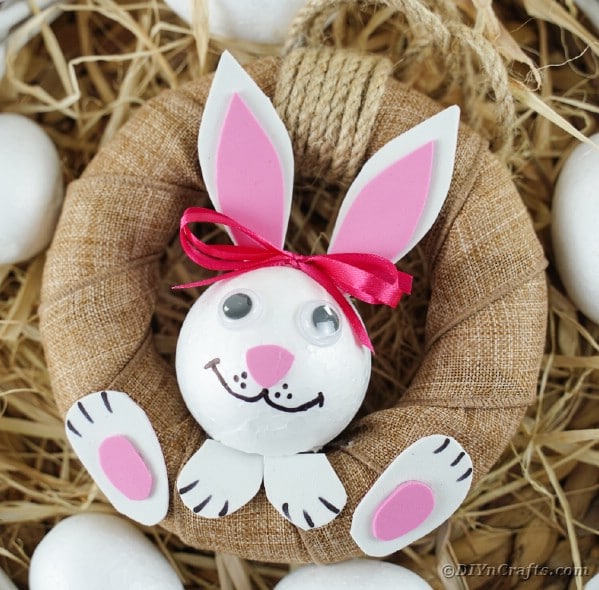
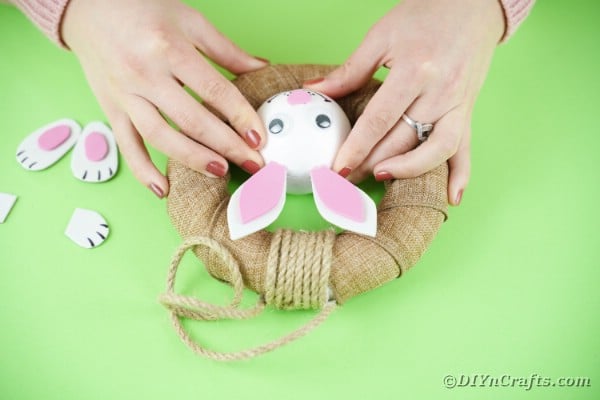
Glue the bottom of the bunny head in identify on the inside of the wreath, on the lesser reverse of the rope hanger.
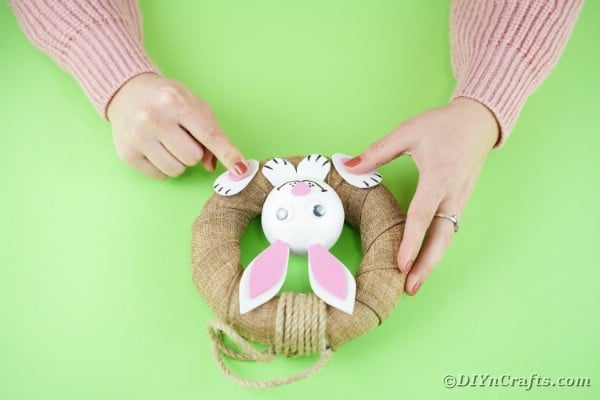
In one case the caput is glued in place, you will add together on the front end paws just under the caput, and the lesser paws facing up from the bottom of the wreath.
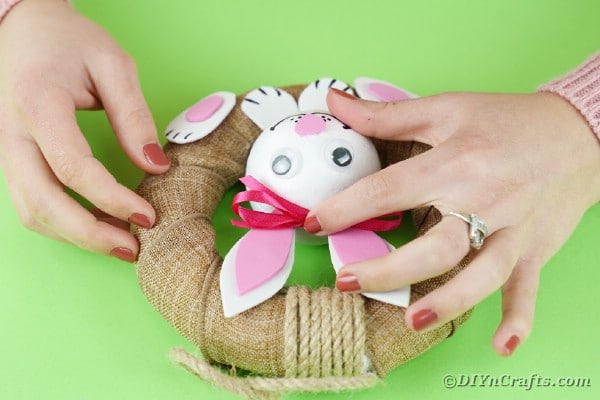
Necktie a small bow with the satin ribbon, and glue in place between the bunny ears.
At present you lot can hang your bunny wreath on your door!

Crafter's Tip:
If you plan to make a lot of wreaths, bank check out the various options for wreath forms from Dollar Tree. They have a lot more products in their craft section lately, and many are total-sized items like wreath forms.
Agile Fourth dimension fifteen minutes
Total Time 15 minutes
Difficulty Medium
Estimated Cost $5
Instructions
- Wrap the burlap ribbon around the wreath form and mucilage in place;
- At present, wrap the rustic rope 4-v times around the acme of the wreath covering where the burlap ribbon ends and glue into place leaving a loop for hanging;
- Cut out 2 white ears, 2 slightly smaller pink ears, i pinkish circle olfactory organ, 2 white feet, 2 slightly larger white feet, and 2 pocket-sized pink ovals;
- Gum the ears and feet together with pinkish in the middle as shown;
- Side by side, you will mucilage the googly eyes and nose to the styrofoam ball;
- Add the ears to the top of the styrofoam ball;
- Describe on the smiling and whiskers below the pink nose;
- Now you lot will glue the head to the bottom within of the wreath;
- In one case the head is secure, you volition add the two solid white feet just below the caput, and the ii larger feet with ink middles at angles to the side on the lesser;
- At present you volition tie a small bow with ribbon, and mucilage it between the ears on top of the bunny caput;
- Your wreath is gear up to hang on your door!
Notes
Feel gratis to add together embellishments around the wreath with flowers, birds, ladybugs, and like.
Source: https://www.diyncrafts.com/87315/holidays/easter/easter-bunny-wreath
0 Response to "Adorable Easter Bunny Wreath With Video Tutorial"
Post a Comment